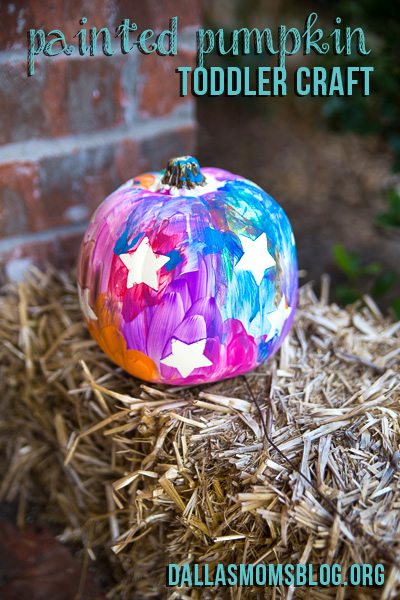
This will be the first Halloween that my son is old enough to explain the process of carving and decorating pumpkins. I’m so excited to begin this tradition with him, but wanted to start in a way that introduced him to the concept without all the knives and sharp objects. This Painted Pumpkin Toddler Craft was the perfect compromise — he got to decorate a pumpkin, and Mommy got a fun keepsake that can be displayed for years to come.
The beauty of this Painted Pumpkin Toddler Craft is its simplicity — you can really take it and do it however you want. I decided to add some star cutouts onto the pumpkin to give it some fun decorations after the paint had dried. My son LOVED this. You could do the same thing with letters for a monogrammed pumpkin, or the logo of your child’s favorite super hero.
Let me show you how we made ours:
Supplies:
Small white foam craft pumpkin
Washable paint
Paintbrush
Painter’s Tape
Star-Shaped Craft Punch
Directions:
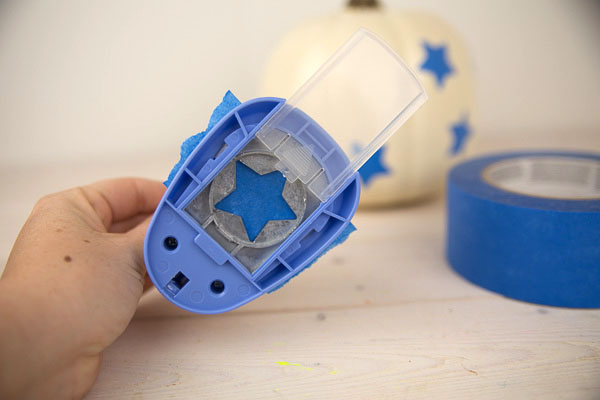
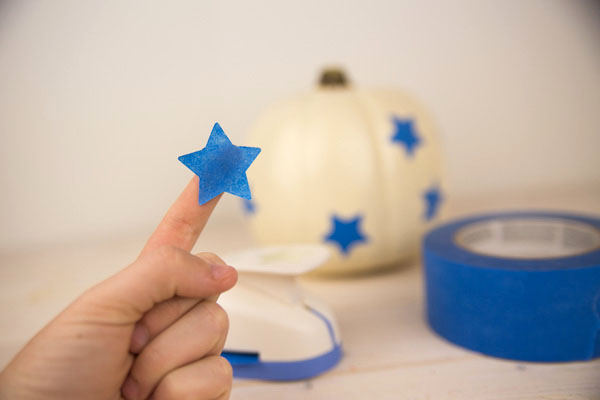
Cut out stars using small pieces of painter’s tape and your craft punch. You could also use scissors, but this was *much* easier for me. I’m all about easy!
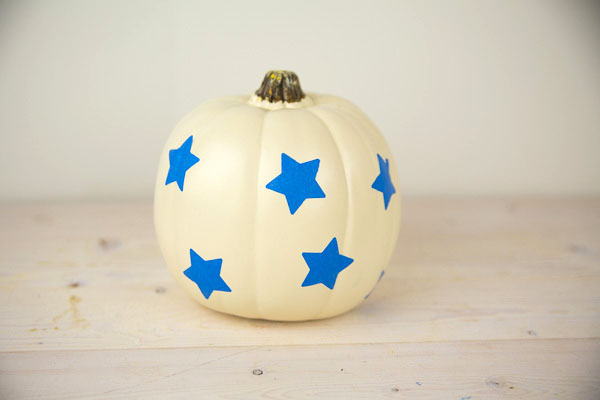
Cover your pumpkin in stars.
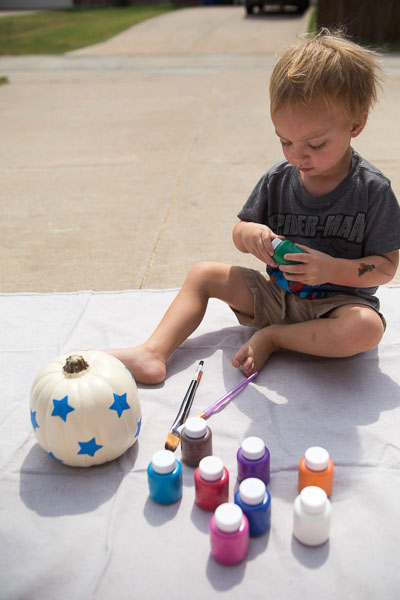
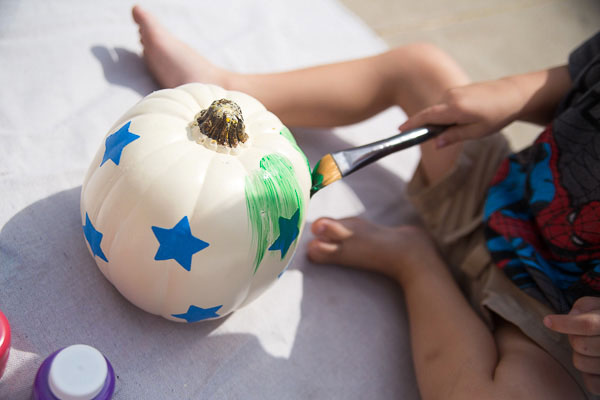
Now comes the fun part! Let your toddler go wild — cover the pumpkin (stars included) with paint.
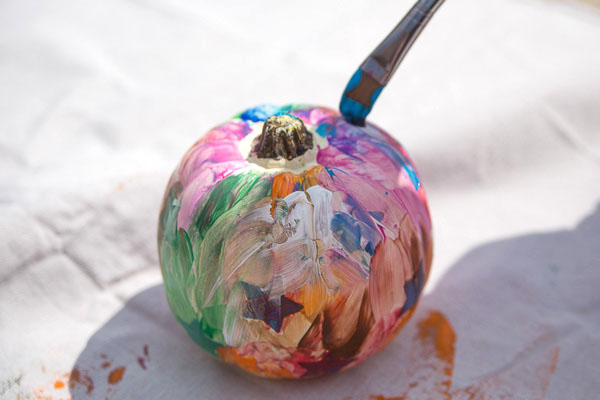
Smear it all over — it will look really cool, promise! Allow it to dry completely, then remove the stars.
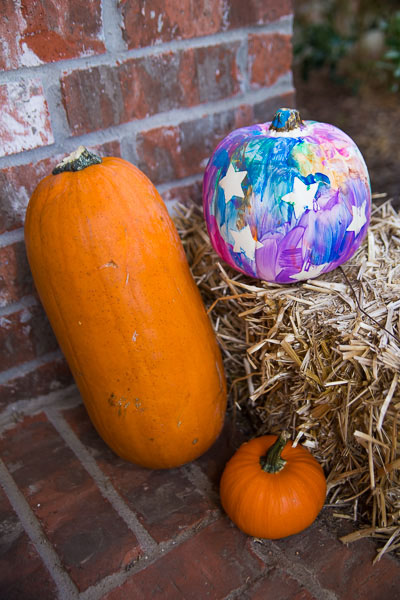
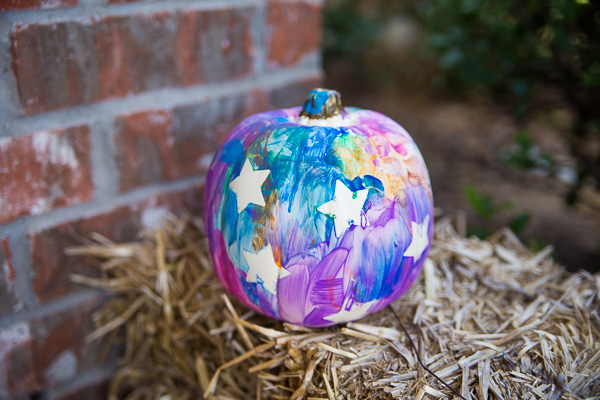
And just like that, you have a fun pumpkin that your child can be proud of! Told you it was easy…
Check out of favorite DIYs on Pinterest:
Follow DallasMomsBlog’s board DIY Projects We Love on Pinterest.


