St. Patrick’s Day isn’t a day that my family is eager to celebrate. It’s one of those “holidays” that’s difficult to explain to my 3 year old who doesn’t know where Ireland even is on a map, let alone what a Leprechaun or four leaf clover is.
BUT, since green happens to be one of my son’s favorite colors, instead of just letting it pass us by, we’re changing it up just a little and on March 17th, we’re officially making it Green day. In honor of Green day, I headed to my local dollar store and Hobby Lobby and grabbed a few easy items off the shelf to help us explore the color with our senses!
Here’s a few very simple ways you can teach your Toddler about the color Green . . . or introduce St. Patrick’s Day!
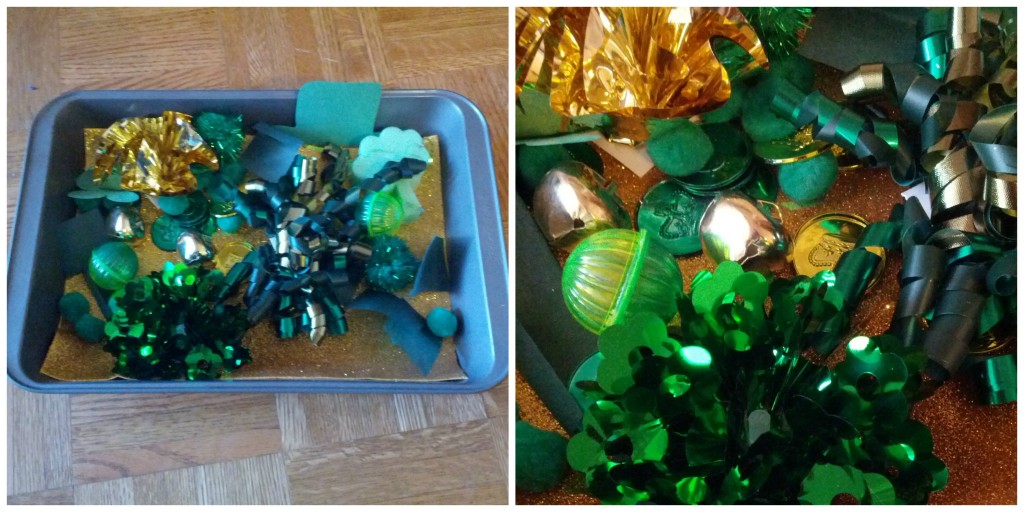
Green & Gold Sensory Bin
These are incredibly easy to make, and you’d be surprised by how much entertainment a toddler will get out of them!
WHAT I USED:
- Gold foam glitter paper
- Gift wrap ribbon (Green & Gold)
- Gold/Green plastic coins
- Cat toys (Yup, that’s right! The rattled and rolled, but don’t worry, they were new & clean.)
- Gold jingle bells
- Green pomp pomp balls
- Green tissue paper
- Green construction paper
- Scissors
- Sponges
Not shown: I found several of my son’s toys that were green (a plastic car, rubber ball, and monster truck) and also added them to the bin; however, for the sake of photos took them out so you could see the other items.
HOW TO MAKE:
The instructions for this couldn’t be any simpler…you just throw everything into a pan and let them play! I took an extra step and made shapes out of the construction and tissue paper. I knew he was learning about squares, so I made a few. I also cut out the construction paper into the shape of a hat and four leaf clover.
I didn’t show the shapes to him, but used the opportunity when he pulled the shape out and asked what it was to explain.
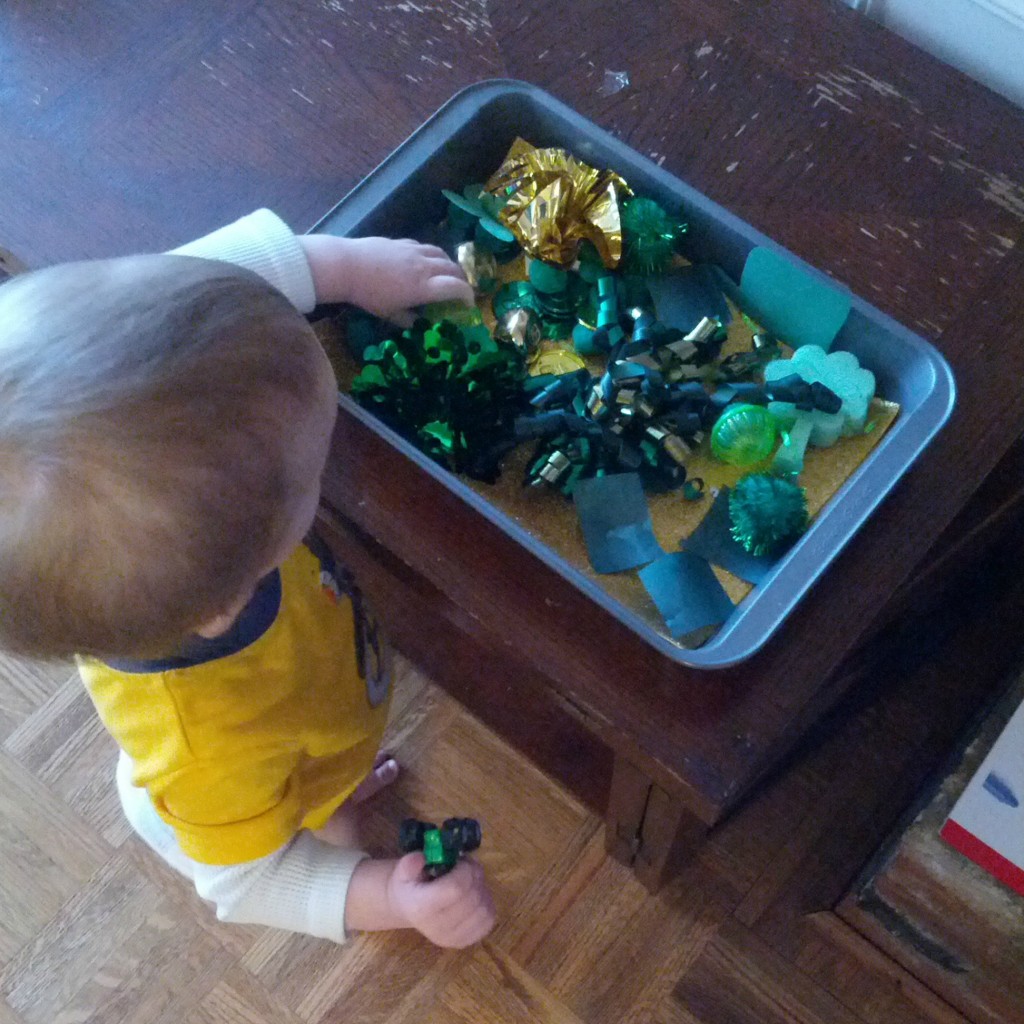
My 14 month old even got in on the action!
Leprechaun Hat
Using the materials I’d already purchased for the sensory bin, we got a little crafty with the construction paper and ribbon.
WHAT I USED:
- Green & Black Construction Paper
- Gold Gift Ribbon
- Scissors
- Elmer’s Early Learners Glue Stick
HOW TO MAKE:
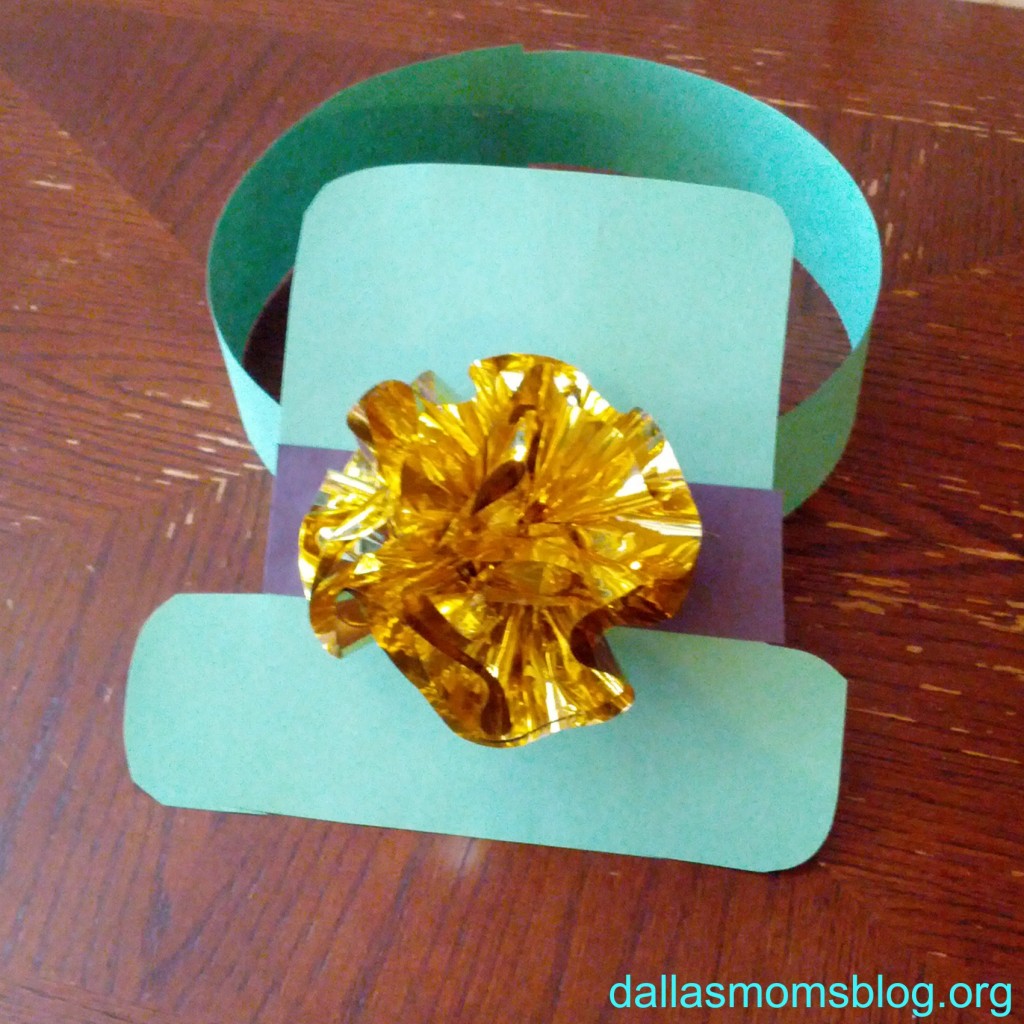
1) Cut out two green strips of construction paper about 2″ wide. Tape one end together, and then wrap it around your toddler’s head.
2) Once you’ve measured the correct size, cut and tape the other end together to form a circle.
3) Cut out a leprechaun hat from green construction paper. (I eye-balled it, but I’m sure you can find a photo online to trace!)
4) Cut out a 1.5″ wide black strip of construction paper (This will be the “belt” around the hat.)
Before continuing, I feel that I need to share this cool new product with you that I found! Elmer’s has created two new glue sticks that are perfect for my toddler’s little hands. Both help with fine motor skills and are easy to open. And I don’t know why, but I love it when glue goes on a color I can see and dries clear.
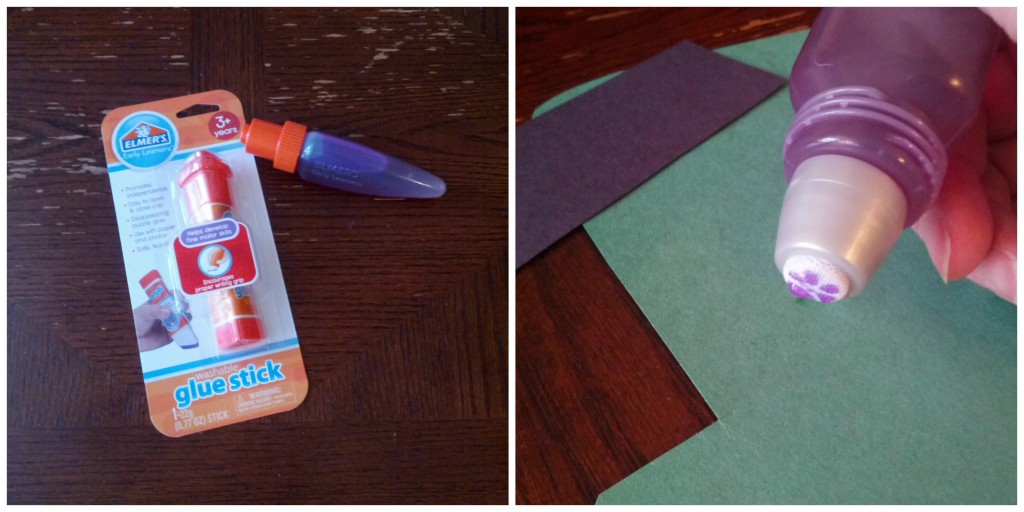 Using these glue sticks, I let my 3 year old take over the project once I’d cut out the shapes for him! Easy, and no mess! (Well…until this mom left him unsupervised and the entire container of purple glue ended up all over our carpet. But thankfully, it’s washable and dries clear!!)
5) Glue the black strip to the center of the hat, just above the brim. Allow a few seconds to dry.
6) Peel off sticker (or glue) and place gold ribbon embellishment in the center of the black strip. (Or you can use yellow construction paper to make a buckle.)
7) Glue hat onto green construction strips. And you have an easy Leprechaun hat!
Shimmering Glitter Glue Bottle
I’m sure you’ve seen these on Pinterest! (My favorite is by My Crazy Blessed Life.) Many moms I know use them for time-out timers, but truthfully, I just wanted to make one for myself! So, I used the green opportunity to do so!
WHAT I USED:
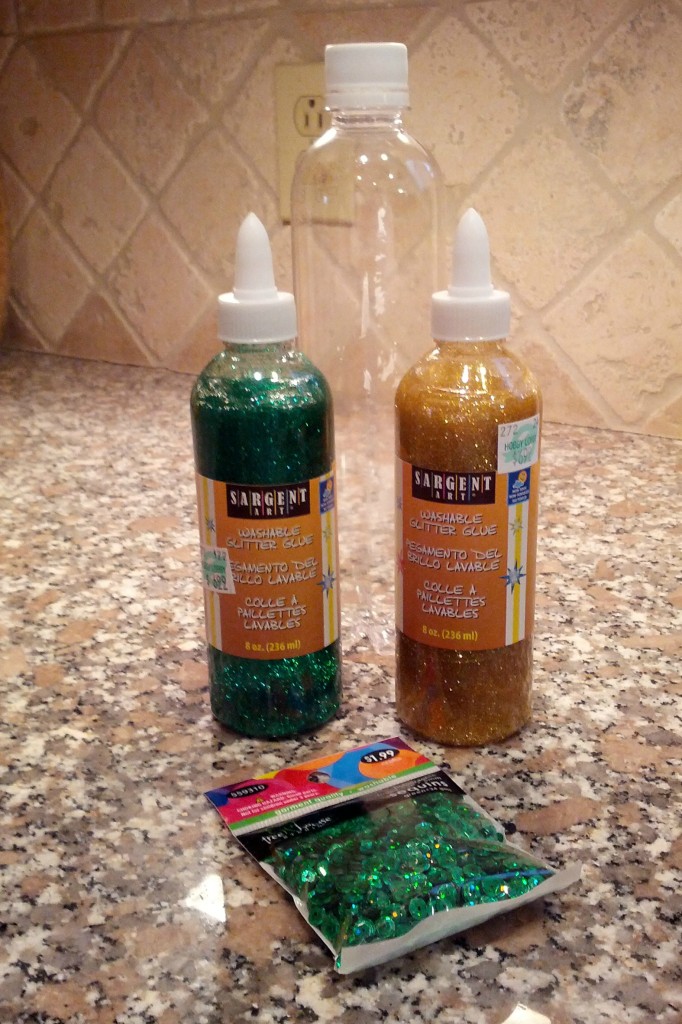
These 4 ingredients + water are all you need!
HOW TO MAKE:
1) Completely rise and clean a clear, plastic bottle. ( I liked the flavored water product’s bottles for their sleekness.)
2) Fill the bottle three-quarters of the way with HOT water. (Note: Make sure your plastic is thick, or if it’s too hot, you’ll warp or melt the bottle.)
3) If you’re using two colors, add 1/3rd of a bottle of each color glitter glue into the hot water. (For 1 color, add a little less than a whole bottle.)
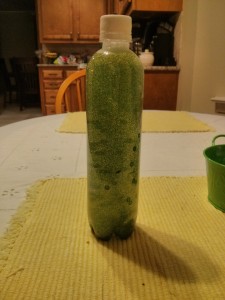
4) For a fun effect, we then added green sequins into the bottle.
At this point, you’ll want to test the glitter glue to water ratio. If it settles too quickly, add more glue. If it takes too long to settle, try removing some of the glitter glue mixture and adding more water. It’s a lot easier to add more glue, than empty the water! So always start with less glue than you think you might need!
5) I highly recommend super gluing your lid once you have your glitter glue bottle the way you like it! This will prevent curious little fingers from opening the bottle and creating a HUGE mess!


