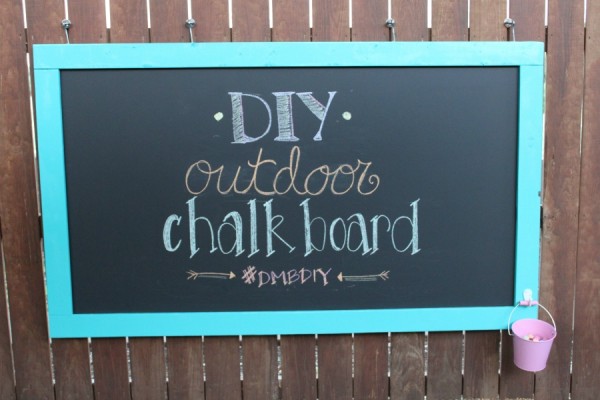
We are constantly on the lookout for projects and ideas to make our backyard more enticing to our four year old daughter. I have a friend who added a large chalkboard to her backyard and I thought, that’s exactly what our yard needs! My daughter loves to draw and loves chalk – it seemed like a win-win. We wanted to make it big enough so that she’d feel like she could draw for days. This was a pretty simple, one weekend, DIY project.
Side note: I may be crafty, but handy I am not. The procurement of supplies was made possibly by the friendly folks at the home improvement store. I told them what I wanted to make, and they pointed me in the right direction.
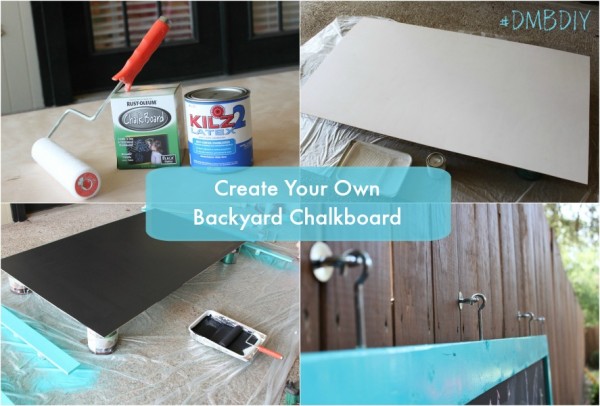
Backyard Chalkboard Supplies:
- Wood
- Apparently there is more than one type of wood. In fact, there’s an entire section of the store dedicated to it. We used a Birch Hardwood Plywood, suggested by the lumber guy. He is also the one who cut it down to size (6ft x 3.5ft) for us.
- Trim for frame (optional)
- Primer and Chalkboard paint
- Trim paint (we used spray paint)
- Drop cloth and paint rollers
Backyard Chalkboard How To:
- Lay down drop cloth and get your paintin’ supplies ready.
- Apply primer paint with a roller. Let dry.
- Apply the chalkboard paint with a roller. We painted two coats, letting each coat dry completely before moving on.
- While the chalkboard paint is drying you can begin to paint your trim pieces. We chose a Rustoleum outdoor spray paint to make this step go a little faster.
Now that you have your pieces painted its time to start assembly. Truth be told, this is where I stepped away and let my husband take over. There are endless ways to attach wood to wood, but we didn’t want visible nails or screws, so he drilled and attached the frame pieces from the backside.
Once everything was assembled it was time for hanging on the fence. There are a million ways to hang one of these, but since we didn’t want to drill anything into our fence we anchored four eye bolts to it in-between planks. We then drilled four hooks into the top of the frame, spaced to match up with each eye bolt. Then with two people, because this thing is heavy, we hung it on the fence.
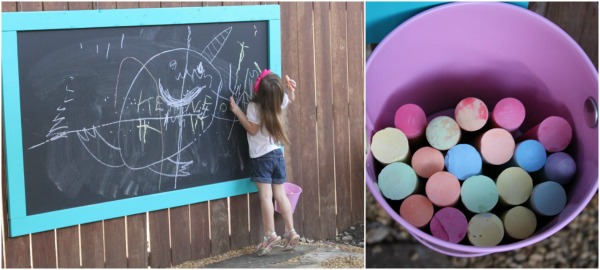
I don’t know who is having more fun with the chalkboard – the four year old or her parents. My daughter has been on an Aladdin kick lately and asked us to draw the Genie for her.
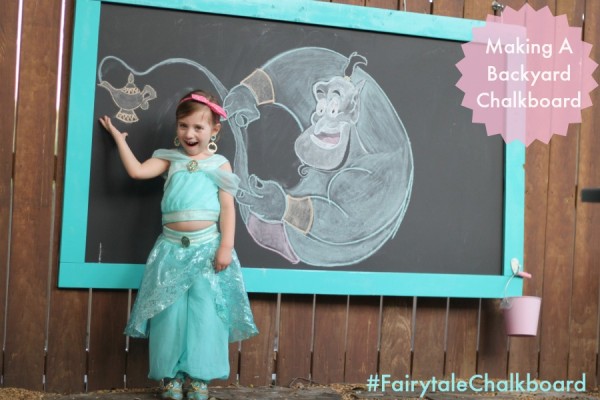
That sparked a series of drawings for each of her favorite Disney Princesses, and if you want to follow along on Instagram, we are using #FairytaleChalkboard.
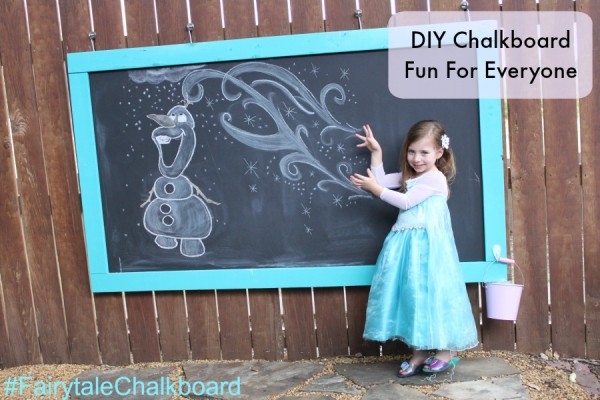
Be sure to share your photos with us if you take on this simple DIY project and use #DMBDIY.







Do you mind sharing about how much you spent on wood and paint?
Hi Britni! Good question – I want to say this whole project cost around $50. The wood was about $24 (once we had the larger piece cut down, there were enough boards for 2 projects). And I want to say the paint, primer and fresh roller covers were around $25.
always see them on tv but always really small this opens up a lot more options and uses. i like it and seems simple enough well for some ha .. good way to recycle some junk wood.
Any water damage over the years? Some people cement backer boards but they are heavy, wondering if this one holds OK?
Same question as above. How has it held up with rain and humidity?! Do you ever remove it to bring it inside?